The Complete Guide of Best Air Compressors for Airbrushing

Introduction

Airbrushing has emerged as a versatile and popular technique in various fields, ranging from fine art to hobby crafting and professional applications. At the heart of this art form lies the air compressor, a critical tool that powers the airbrush. In this guide, we’ll explore the nuances of air compressors, helping you find the perfect match for your airbrushing needs.

Understanding Airbrush Compressors

How Air Compressors Work in Airbrushing

Air compressors for airbrushing convert power into potential energy stored as pressurized air. This air is then released in a controlled manner to operate the airbrush, allowing for precise application of paints and other mediums. If you want to know about air compressor for sandblasting click here

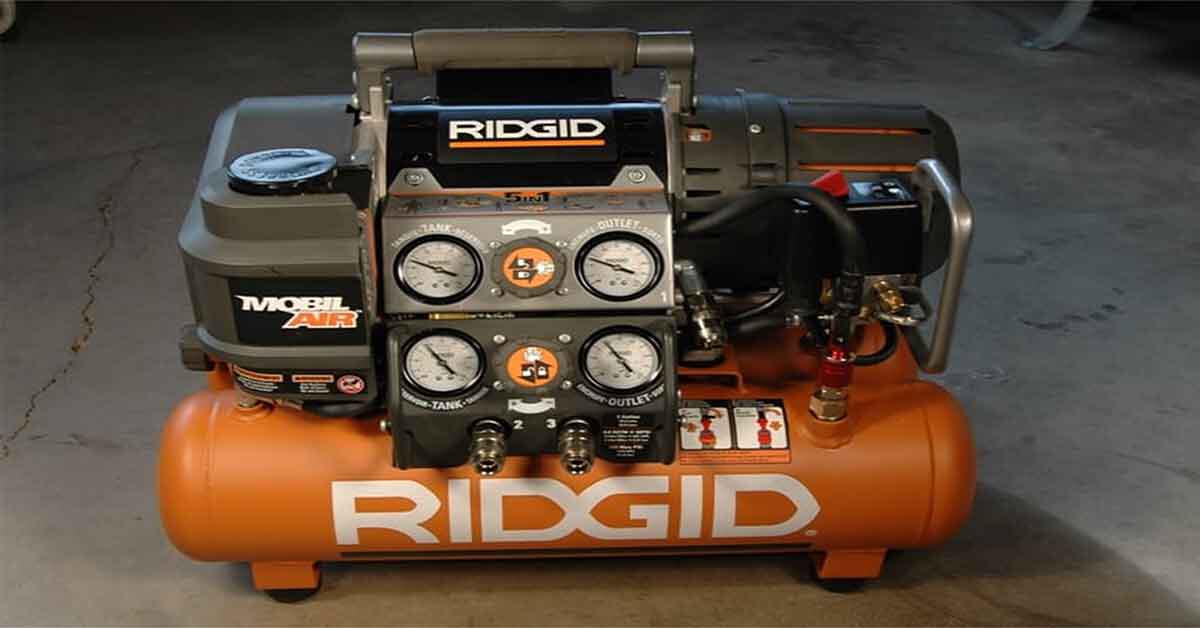
Types of Air Compressors

Piston Compressors: These are known for their power and efficiency. They use a piston mechanism to compress air and are ideal for continuous use.

Diaphragm Compressors: These are quieter and more compact but less powerful than piston compressors. Suitable for light-duty tasks.

Choosing the Right Air Compressor

Factors to Consider

Capacity: Determines how much air the compressor can hold. Larger tanks offer longer uninterrupted working times.

Noise Level: Important for indoor use. Silent or low-noise models are preferable for residential areas.

Power Requirements: Ensure the compressor’s power requirements are compatible with your workspace.

Key Specifications

PSI (Pounds per Square Inch): Indicates the pressure output. Higher PSI is necessary for thicker mediums.

CFM (Cubic Feet per Minute): Measures the volume of air the compressor delivers. Essential for determining the compressor’s efficiency.

Tank Size: Larger tanks provide a steady airflow and reduce the motor’s workload.

Setting Up Your Air Compressor

Installation and Setup

Connect the Moisture Trap: Attach it between the compressor and airbrush.

Adjust the PSI: Start low and increase as needed.

Test the Airflow: Ensure consistent pressure before starting your project.

Performance Tips

Regularly check for leaks.

Use a regulator water trap for precise pressure control.

Features That Enhance Airbrushing

Moisture Trap: Essential for preventing water from entering the airbrush.

Auto On/Off Feature: Saves energy and reduces wear.

Noise Reduction: Silent compressors like the Iwata Media Smart Jet are ideal for noise-sensitive environments.

Maintenance and Care

Routine Maintenance: Regularly drain the tank and check for air leaks.

Troubleshooting: Common issues include moisture buildup and pressure fluctuations. Refer to the manual for specific solutions.

Conclusion

Selecting the right air compressor for airbrushing depends on your specific needs, whether you’re a hobbyist or a professional. Consider factors like PSI, CFM, tank size, and noise level. Remember, the best compressor is one that balances performance, durability, and cost-effectiveness.

Troubleshooting Your Slime Air Compressor: Effective Solutions

Introduction

Slime air compressors are renowned for their reliability and efficiency in various applications, from inflating tires to powering tools. However, like any mechanical device, they can encounter issues. Understanding common problems and the importance of regular maintenance and troubleshooting is crucial for optimal performance and longevity.

Understanding Your Slime Air Compressor

Slime air compressors are versatile tools, ideal for a range of tasks. They are known for key features like portability, ease of use, and durability. Understanding their specifications helps in better maintenance and troubleshooting.

Common Issues and Their Symptoms

Common issues with Slime air compressors include no power, weak air flow, and unusual noises. These symptoms often point to underlying problems like power source issues, clogged hoses, or internal mechanical failures.

Step-by-Step Troubleshooting Guide

Check the Power Source

Ensure the compressor is correctly plugged in and the power supply meets the voltage requirements. This step is crucial for the compressor to function properly.

Inspect the Switch and Controls

Examine the switch and control panel for any signs of damage or malfunction. Regular checks can prevent electrical issues.

Examine the Hose and Connectors

A clogged or damaged hose can significantly impact the compressor’s performance. Regular inspection and cleaning are recommended.

Assess the Power Cord

Inspect the power cord for any signs of wear or damage. Always follow safety precautions when handling electrical components.

Fuse and Circuit Breaker Issues

Locate and replace any blown fuses. Understanding the role of circuit breakers can help in maintaining the compressor’s electrical safety.

Advanced Troubleshooting Techniques

Addressing motor and pump issues requires a more technical approach. Understanding the function of pressure switches and regulators is also crucial for advanced troubleshooting.

Maintenance Tips to Prevent Future Issues

Regular cleaning and proper storage are key to preventing future issues. Establish a routine for inspecting and maintaining your Slime air compressor.

When to Seek Professional Help

Some problems may require professional intervention. Knowing when to seek help and how to find a reliable repair service is essential.

Alternatives to Slime Air Compressors

Comparing Slime air compressors with other brands can help in making an informed decision. Recommendations for different use-cases can aid in selecting the right compressor.

Conclusion

Regular maintenance and proper troubleshooting are key to the longevity of your Slime air compressor. Remember, a well-maintained compressor is a reliable one.

How to Increase the CFM of an Air Compressor: Expert Techniques

Introduction

Understanding how to increase the cfm of an Air compressor Cubic Feet per Minute (CFM) of your air compressor is crucial for optimal performance. CFM, a key metric in air compressors, directly impacts their efficiency and capability. This comprehensive guide delves into the essence of CFM, its relationship with PSI (Pounds per Square Inch), and its role in various applications. Whether you’re in construction, automotive repair, or a DIY enthusiast, mastering CFM can significantly enhance your project outcomes.

Understanding CFM in Air Compressors

Defining CFM and Its Importance

CFM stands for cubic feet per minute, indicating the volume of air an air compressor can deliver in a minute. It’s a critical factor in determining a compressor’s efficiency and suitability for specific tools and tasks.

Relationship Between CFM and PSI

CFM and PSI are intertwined. While CFM measures the volume of air, PSI gauges its pressure. Understanding this relationship is essential for selecting the right air compressor and ensuring it meets your needs.

CFM’s Role in Various Applications

CFM requirements vary across tools. For instance, paint sprayers and nail guns each have specific CFM needs. Selecting an air compressor with the appropriate CFM rating is vital for the effective operation of these tools.

Assessing Your Air Compressor’s CFM

Methods to Check Your Compressor’s CFM

Consult Manufacturer’s Documentation: Always start by checking the manual for CFM specifications.

Use a CFM Measurement Device: Devices like flow meters can provide accurate CFM readings.

Perform a Time-Based Measurement: This involves using a stopwatch to estimate CFM based on how quickly the compressor reaches certain pressure levels.

Tools for Measuring CFM

Flow meters

Anemometers

Online CFM calculators

Interpreting Manufacturer’s Documentation

Understanding the manufacturer’s CFM ratings at different pressures can help you gauge the true capacity of your compressor.

Effective Methods to Increase Air Compressor CFM

Decreasing Pressure to Enhance CFM

Impact: Lowering pressure can increase CFM, but it’s essential to ensure it still meets your tool’s requirements.

Limitations: This method may not be suitable for tools requiring high pressure.

if you interested to know about difference between air tank vs Air Compressor so check.

Adding an Additional Compressor

Benefits: Increases total CFM output, ideal for high-demand applications.

Connecting Compressors: Ensure both compressors are compatible for effective coupling.

Combining Compressors with Different CFM Ratings

Technical Aspects: Requires careful synchronization of pressure switches and control systems.

Effective Integration: Ensures a combined CFM that meets your requirements.

Incorporating an Extra Air Receiver Tank

Impact: Provides a reservoir for compressed air, enhancing CFM for high-demand periods.

Selecting the Right Size: The tank size should match your compressor’s output and application needs.

Upgrading Compressor Components

Enhancing Components: Upgrading the pump and motor can significantly boost CFM.

Compatibility Considerations: Ensure new components are compatible with your existing system.

Advanced Techniques for CFM Enhancement

Custom Modifications: Tailoring your compressor for specific CFM needs.

Balancing Enhancements with Longevity: Avoid modifications that could shorten your compressor’s lifespan.

Professional Assistance: Seek expert help for complex upgrades.

CFM Requirements for Common Tools

ToolRequired PSIAir Consumed (CFM)
Spray Gun (HVLP)40-6015
Impact Wrench (1/2”)70-904
Air Hammer90-1004
Die Grinder70-905

Maintaining Optimal CFM

Routine Maintenance: Regular checks and cleaning can maintain optimal CFM.

Troubleshooting: Address common issues like leaks or blockages to ensure consistent CFM.

Safety and Best Practices

Safe Modifications: Always follow safety guidelines when modifying your compressor.

Manufacturer’s Guidelines: Adhere to the manufacturer’s instructions to avoid damaging your equipment.

Conclusion

Increasing your air compressor’s CFM can significantly enhance its performance. By understanding CFM, assessing your current compressor, and implementing effective methods, you can achieve greater efficiency and tackle more demanding projects. Remember, safety and adherence to guidelines are paramount

Comprehensive Guide to Solving Ridgid Air Compressor Problems

Introduction

Air compressors are indispensable in various settings, from industrial applications to everyday DIY projects. Ridgid air compressors, known for their reliability and efficiency, are a popular choice. However, like any machinery, they can encounter issues. This guide delves into common problems and provides practical solutions to keep your Ridgid air compressor running smoothly.

Understanding Your Ridgid Air Compressor

Overview of Ridgid Air Compressors

Ridgid offers a range of air compressors, each designed for specific needs. From portable models for light tasks to industrial-grade compressors for heavy-duty work, understanding your model’s features and specifications is crucial for effective maintenance and troubleshooting.

Common Problems and Solutions

Electrical and Wiring Issues

Identifying and Fixing Wiring Problems:

  • Check for loose connections and damaged wires.
  • Regularly inspect the electrical cord for wear and tear.

Preventive Maintenance for Electrical Components:

  • Schedule routine checks.
  • Replace worn-out parts promptly to prevent circuit breaker tripping and other electrical faults.

Oil and Lubrication Challenges

Choosing the Right Oil:

  • Use only the recommended oil type for your Ridgid compressor.
  • Avoid mixing different oil types.

Maintaining Optimal Oil Levels:

  • Regularly check oil levels.
  • Change oil as per the manufacturer’s guidelines to prevent oil problems.

Vacuum and Pressure Regulation

Understanding Vacuum Problems:

  • Inspect for blockages in the intake valve.
  • Ensure the air filter is clean and unclogged.

Regulating Pressure:

  • Adjust the pressure switch for consistent output.
  • Regularly test the pressure relief valve for proper operation.
  • If you want to know about best air compressor garage check this

Advanced Troubleshooting Techniques

Dealing with Compressor Failure

Diagnosing Start-up Issues:

  • Check the power supply and ensure the compressor is properly plugged in.
  • Inspect the start capacitor and replace if faulty.

Resolving Compressor Stoppage:

  • Clean or replace clogged air filters.
  • Check for any air leaks and seal them.

Addressing Air Leaks and Flow Problems

Detecting and Fixing Air Leaks:

  • Listen for hissing sounds.
  • Use soapy water to locate leaks and tighten connections.

Managing Pressure and Flow:

  • Regularly clean the intake and exhaust valves.
  • Adjust the pressure regulator for optimal performance.

Noise, Vibration, and Heat Emissions

Identifying Causes of Unusual Noises:

  • Tighten any loose parts.
  • Check for worn bearings and replace if necessary.

Handling Overheating Issues:

  • Ensure proper ventilation around the compressor.
  • Regularly clean the compressor to prevent hot emissions.

Preventive Maintenance and Care

Routine Maintenance Checklist:

Regular oil checks and changes.

Inspect hoses and connections for wear.

Clean air filters monthly.

Long-term Care Tips:

Store in a clean, dry place.

Follow the manufacturer’s guidelines for servicing.

When to Seek Professional Help

Identifying Professional Help Needs:

Persistent electrical issues.

Repeated compressor failure despite troubleshooting.

Choosing the Right Service:

Look for certified Ridgid service providers.

Check reviews and seek recommendations.

User Experiences and Solutions

Real-life stories from Ridgid users provide valuable insights into common issues and innovative solutions. Share your experiences and learn from the community in our Q&A section.

Conclusion

Regular maintenance and understanding common issues are key to the longevity of your Ridgid air compressor. Stay proactive and don’t hesitate to seek professional help when needed.

Additional Resources

For more detailed guidance, visit Ridgid’s official maintenance guides and support forums. Also, explore our recommended tools and accessories for optimal air compressor maintenance.

Exit mobile version